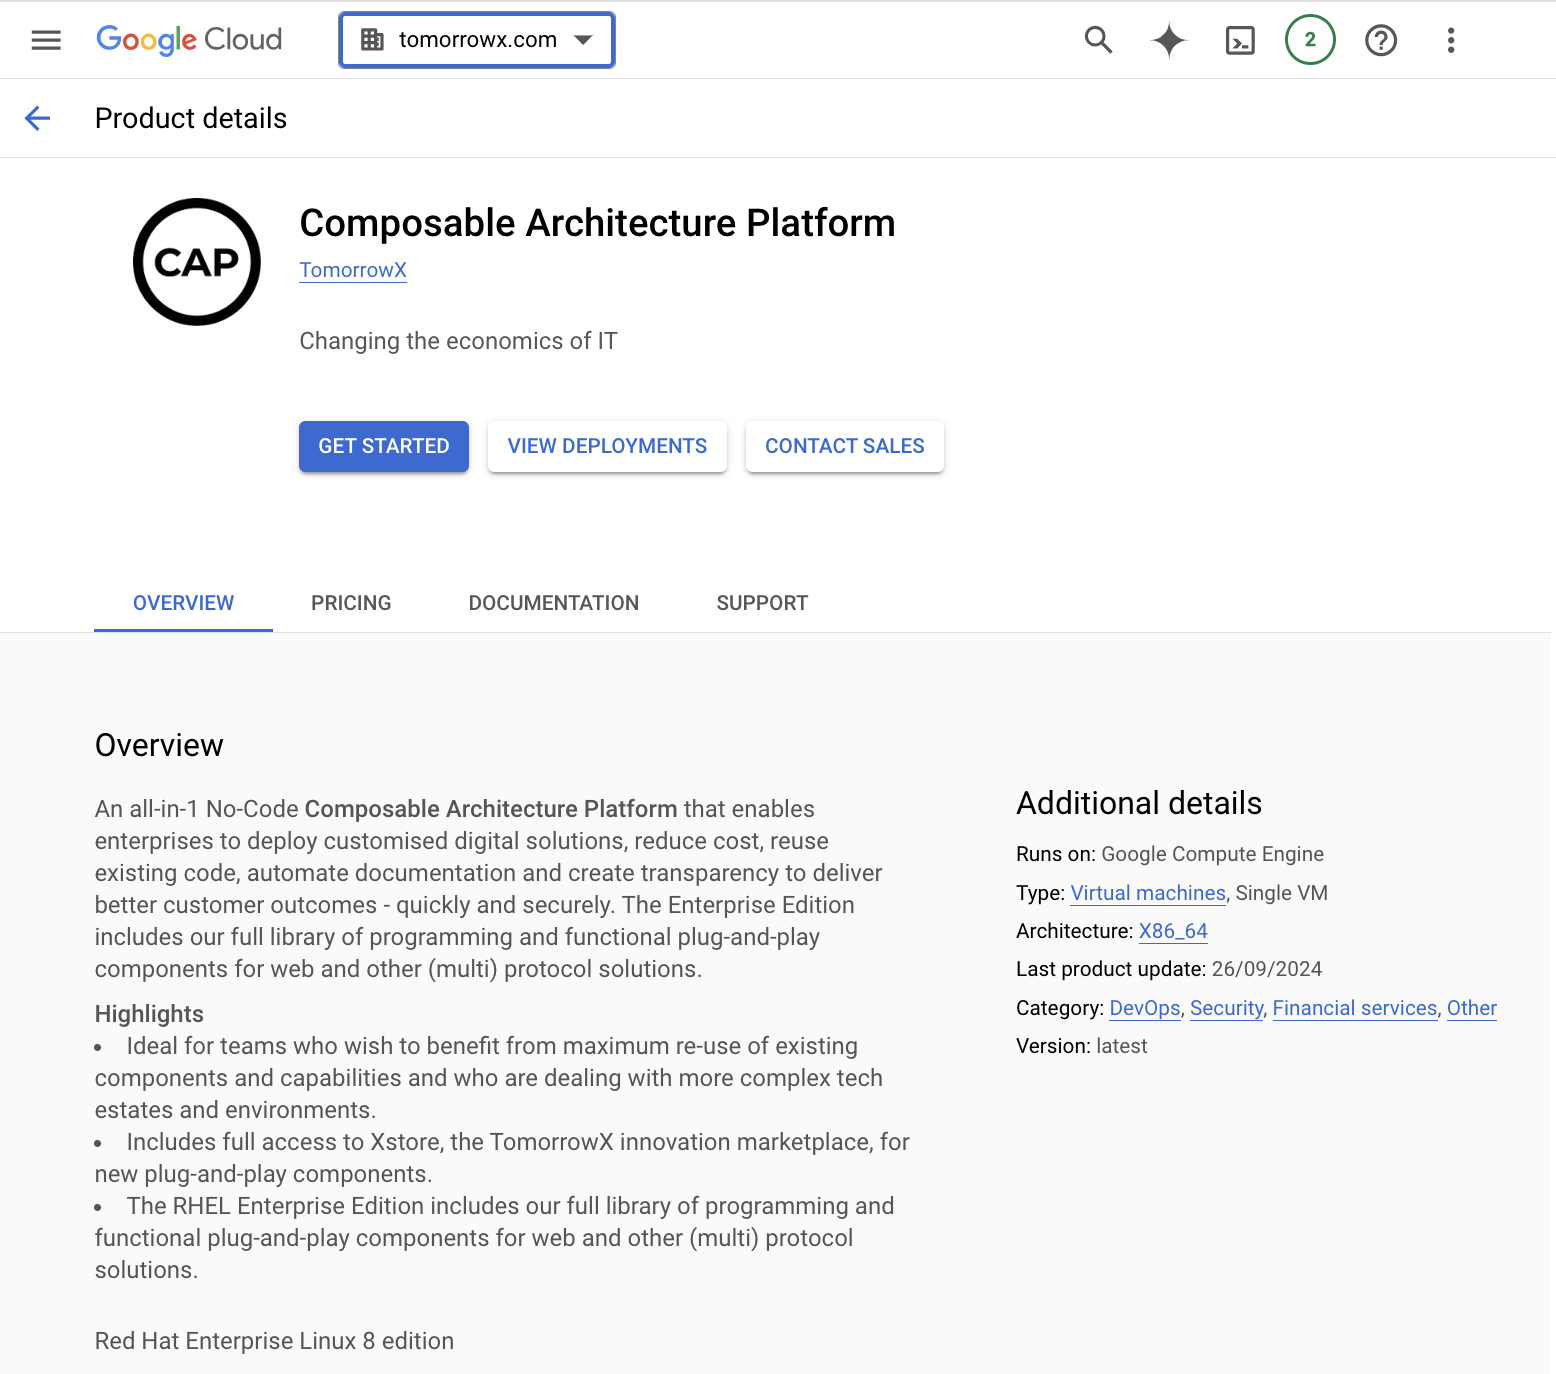
Google Cloud Marketplace Solutions by TomorrowX
Google Cloud Marketplace Solutions by TomorrowX
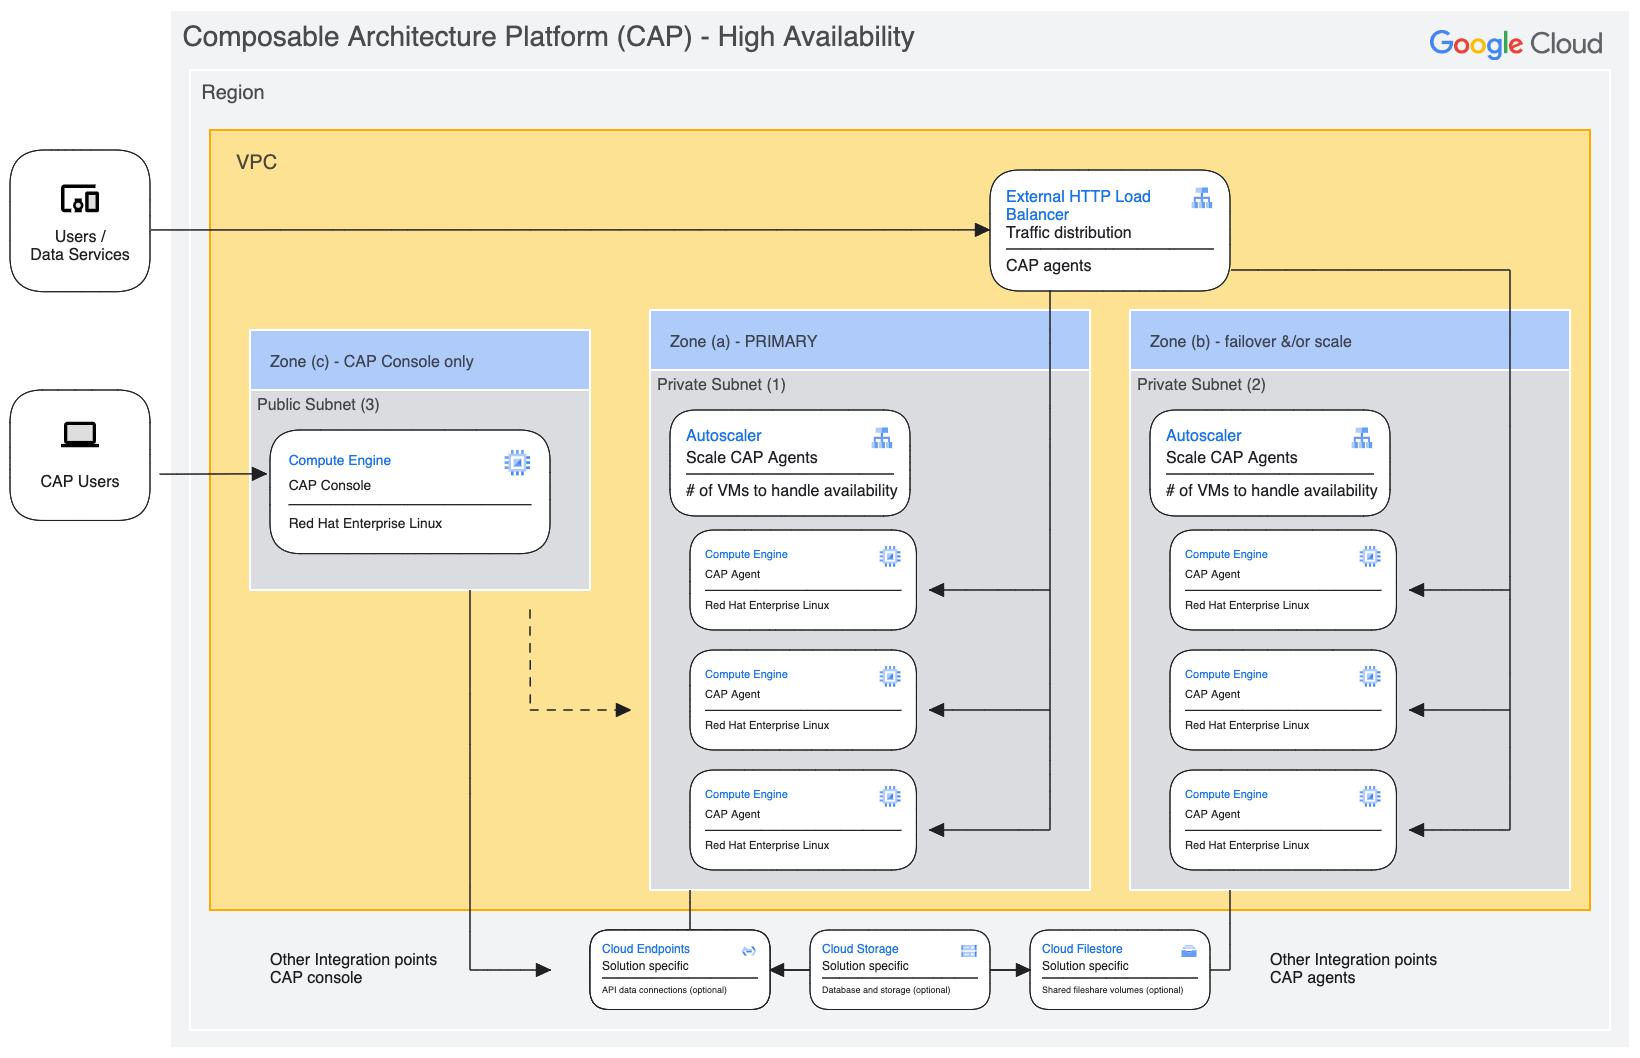
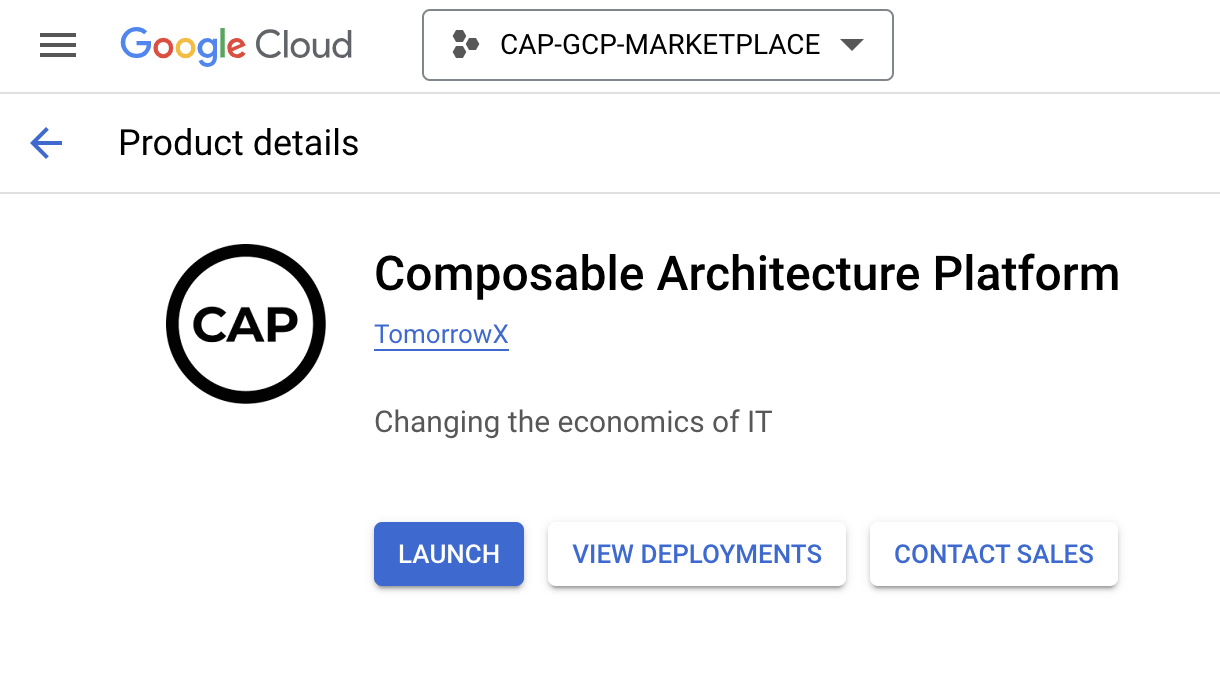
CAP - High Availability Solution Design

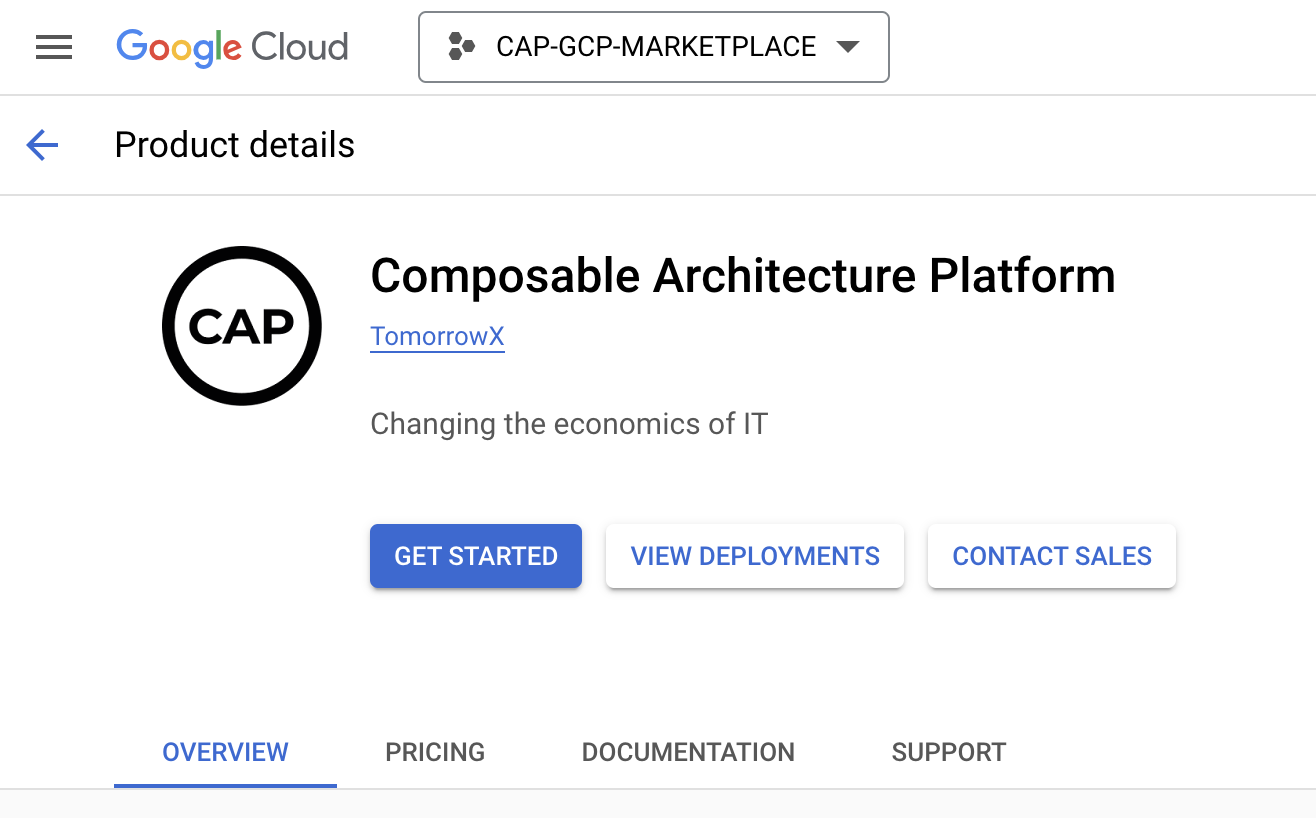
Select a project resource
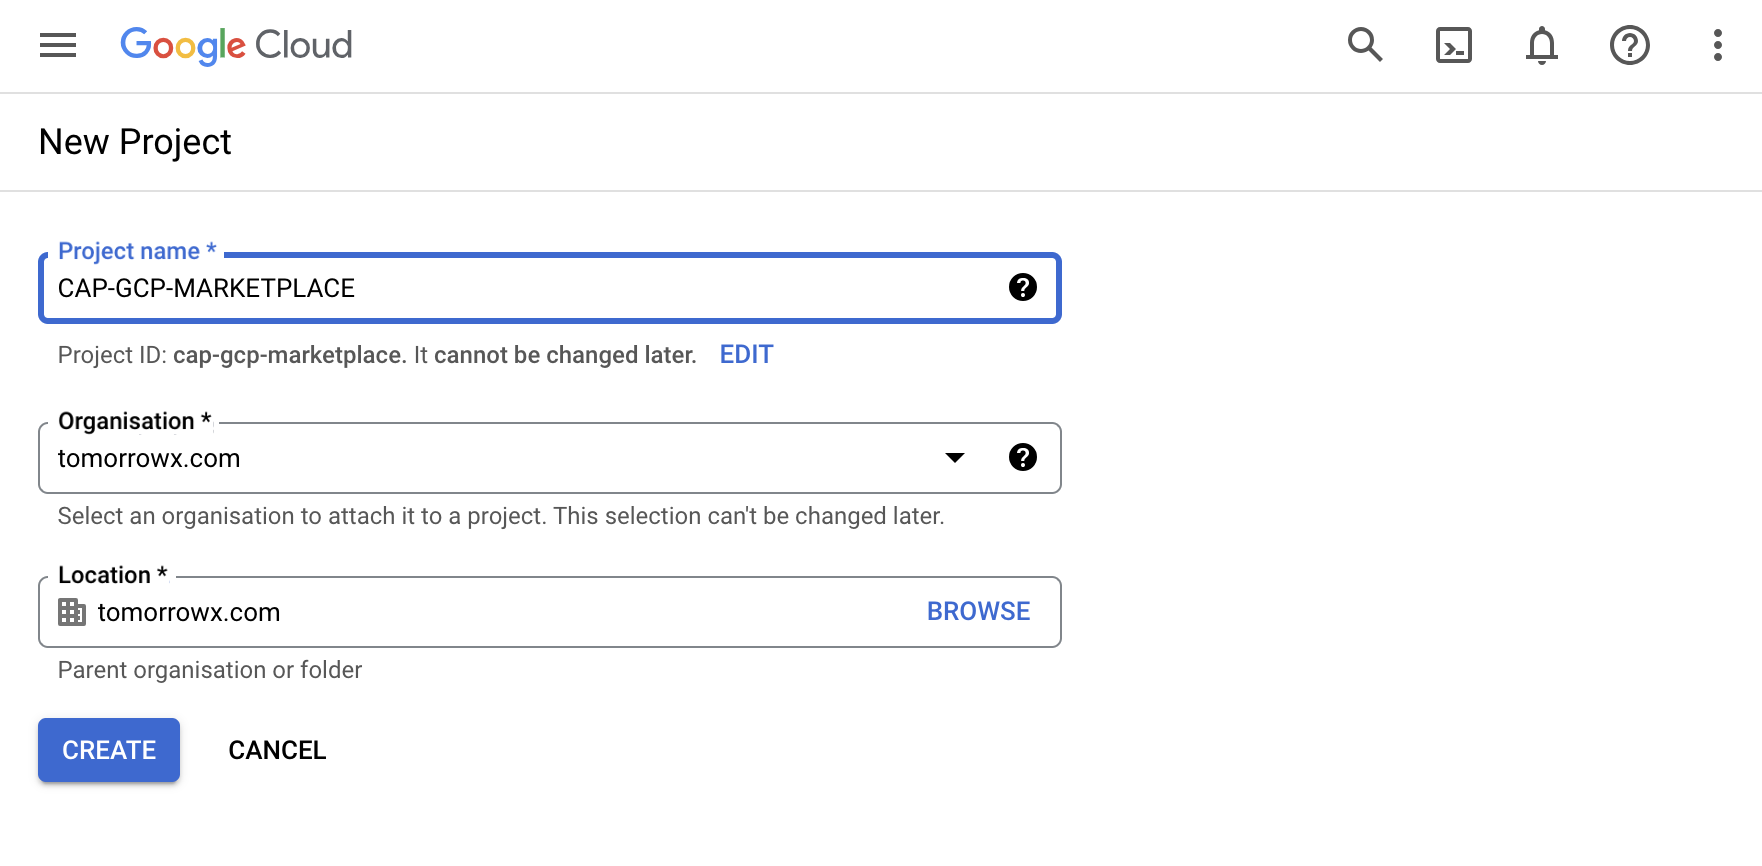
Create a new project
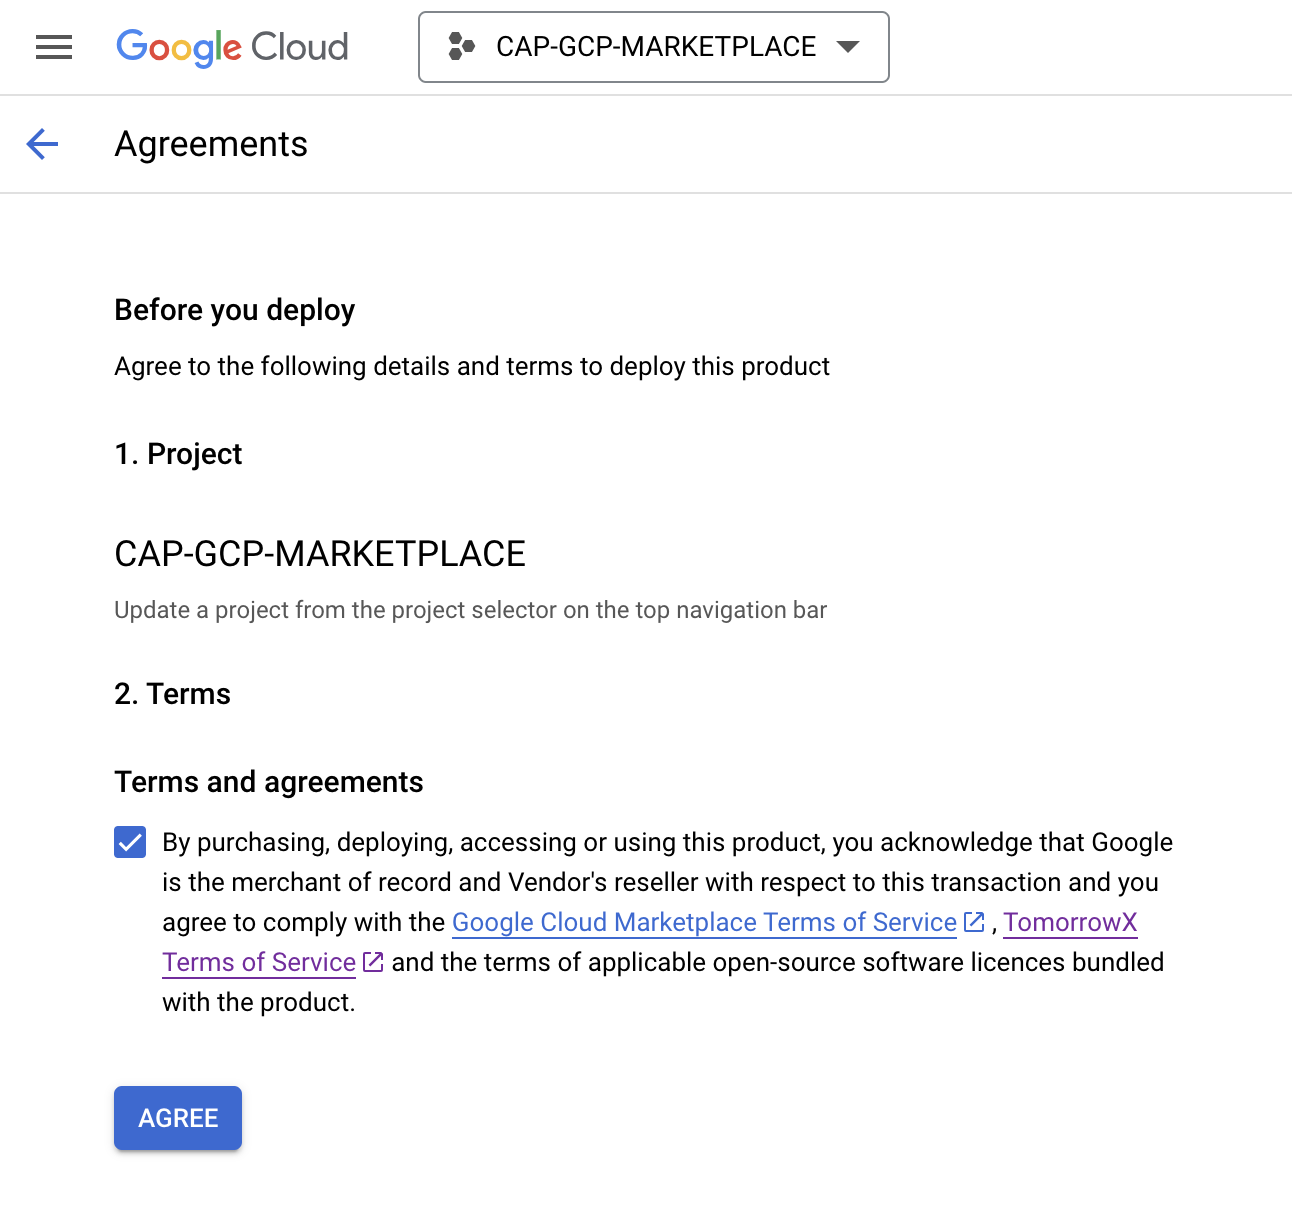
Agree to CAP terms
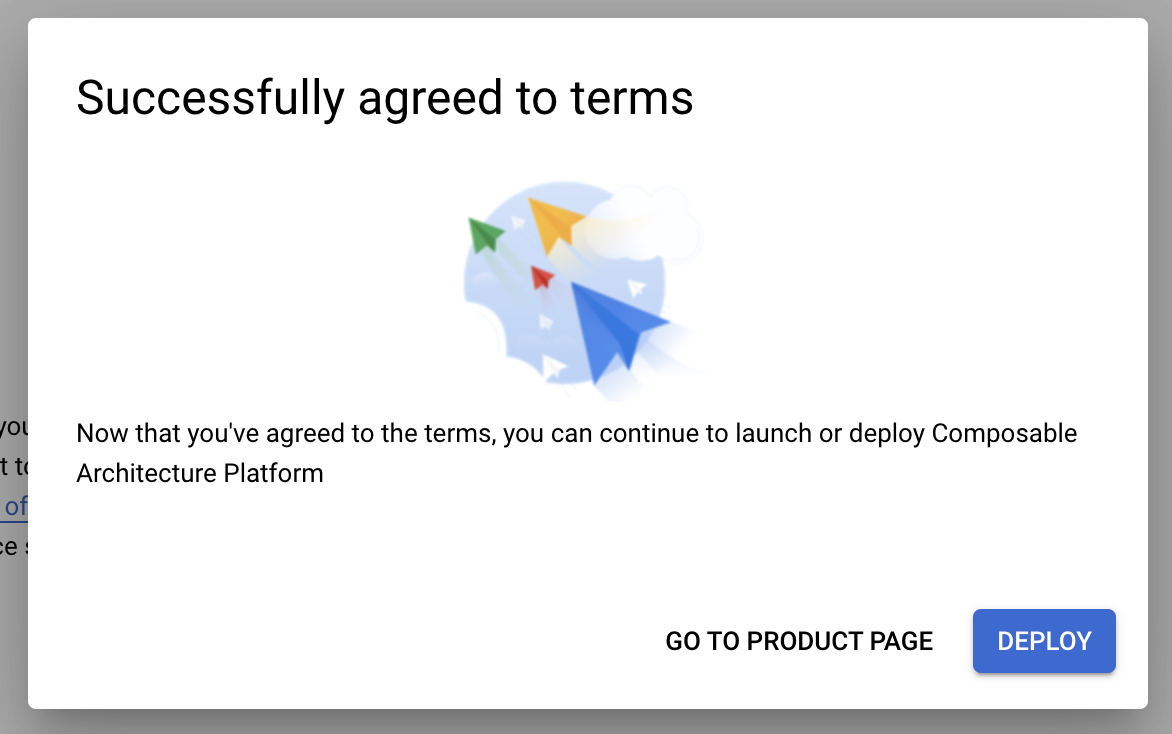
Successfully agreed to terms
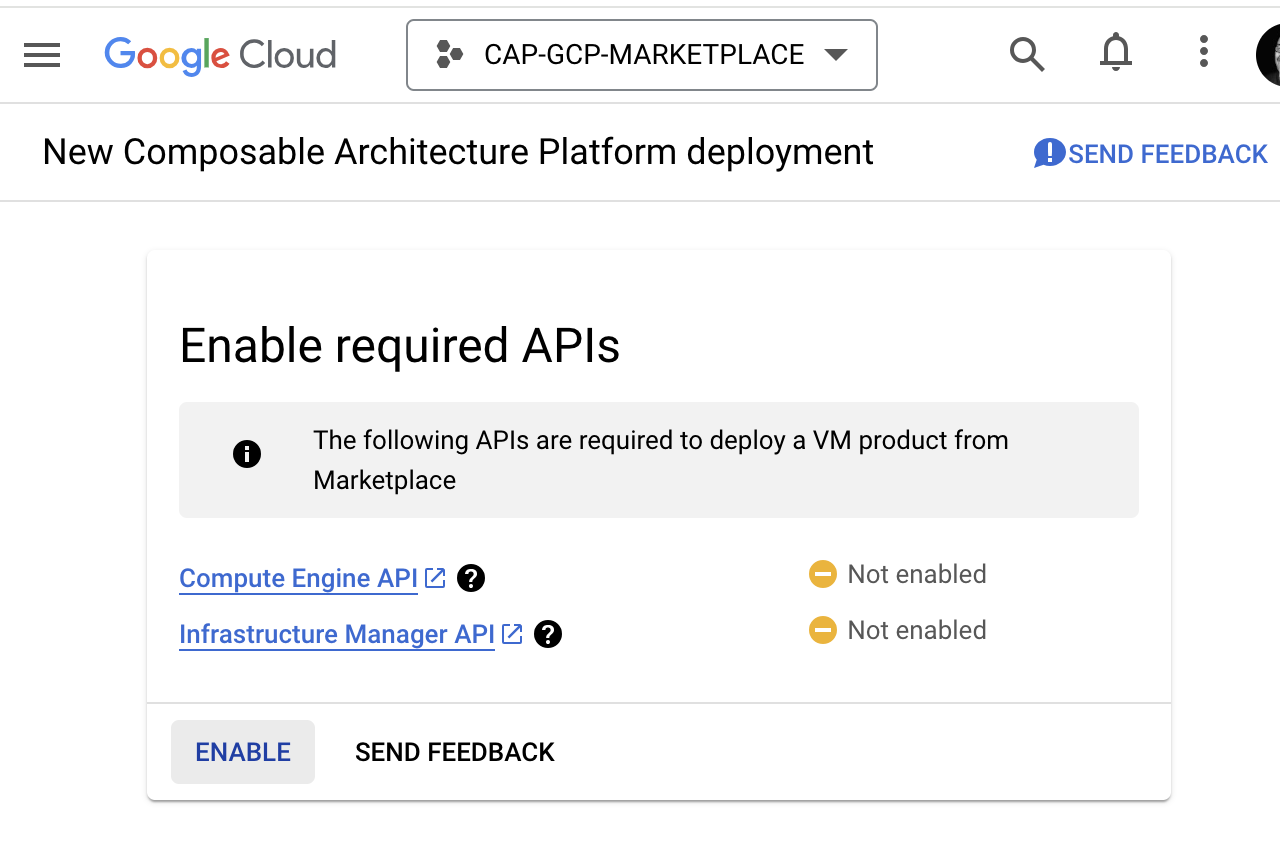
Enable required APIs

Deploy create a new service account
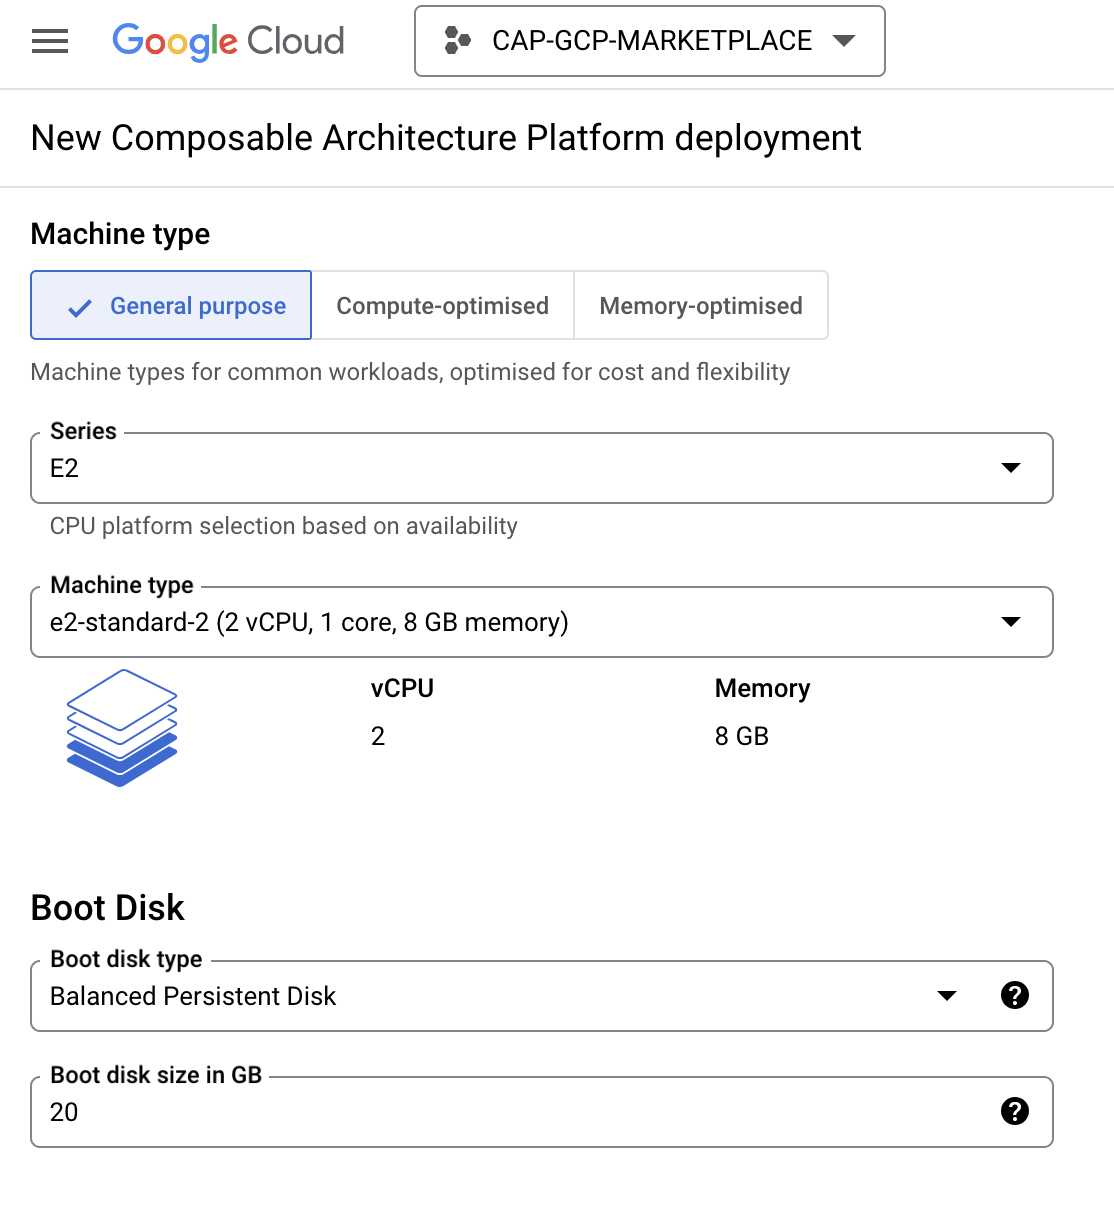
Machine type & Boot disk size
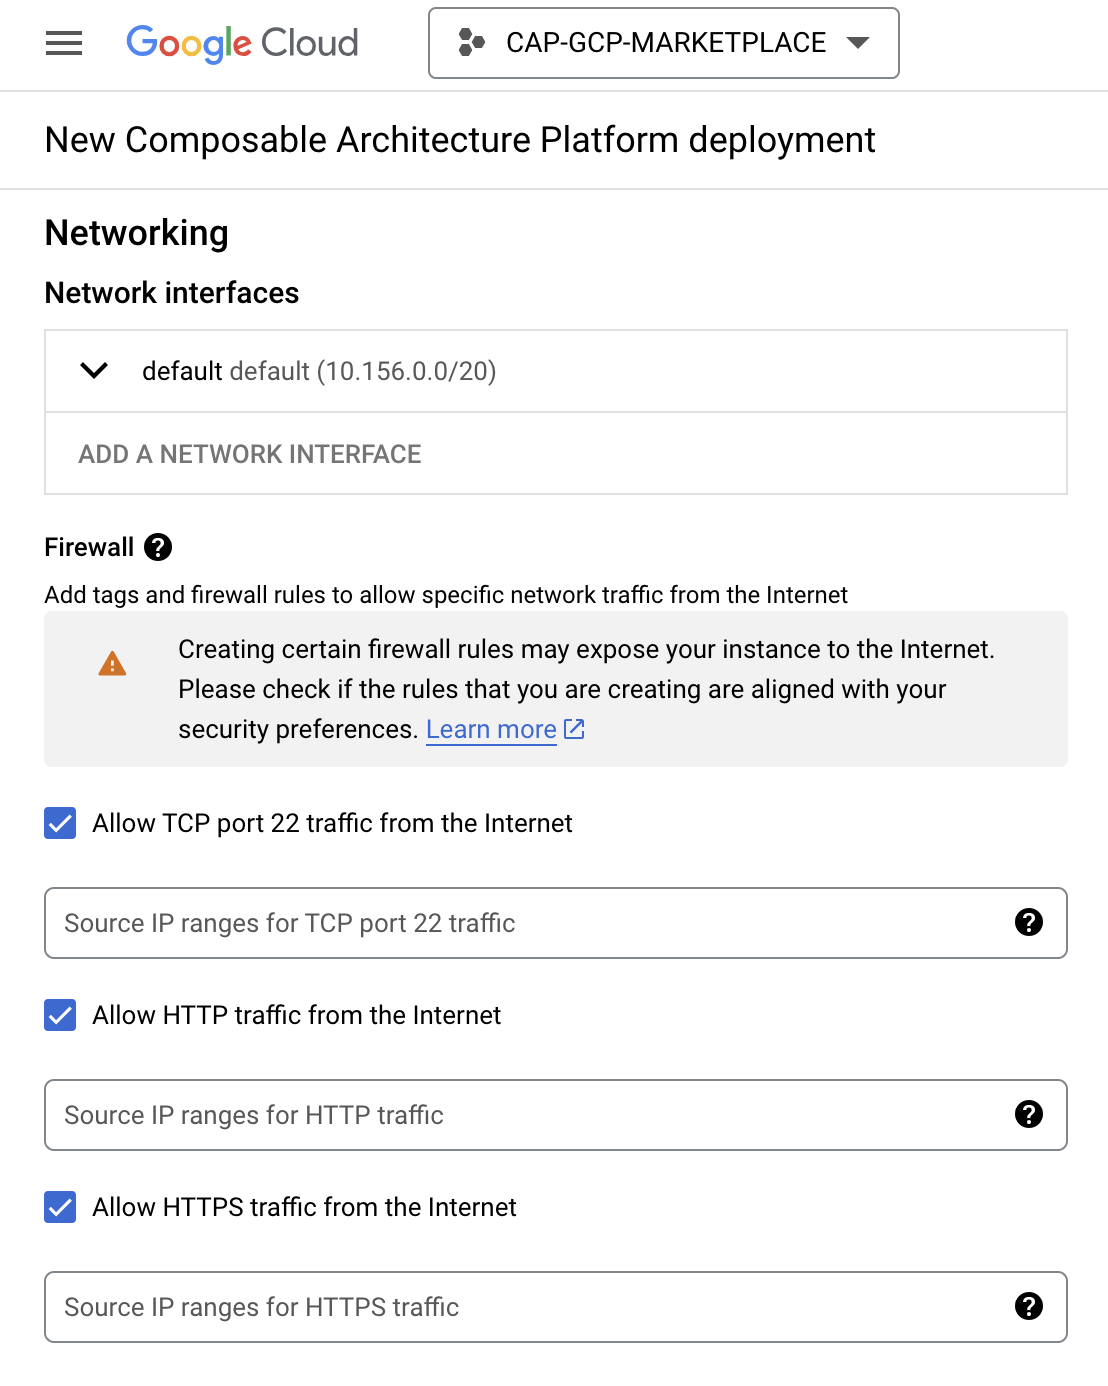
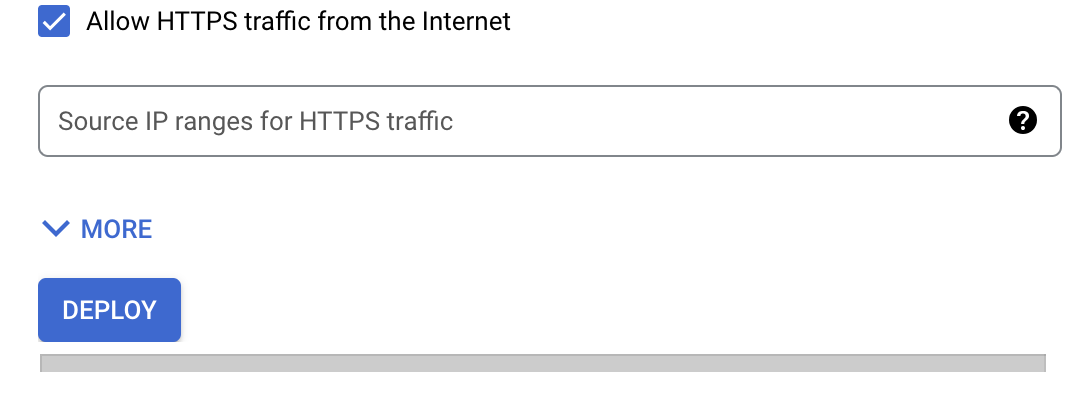
Default networking configuration
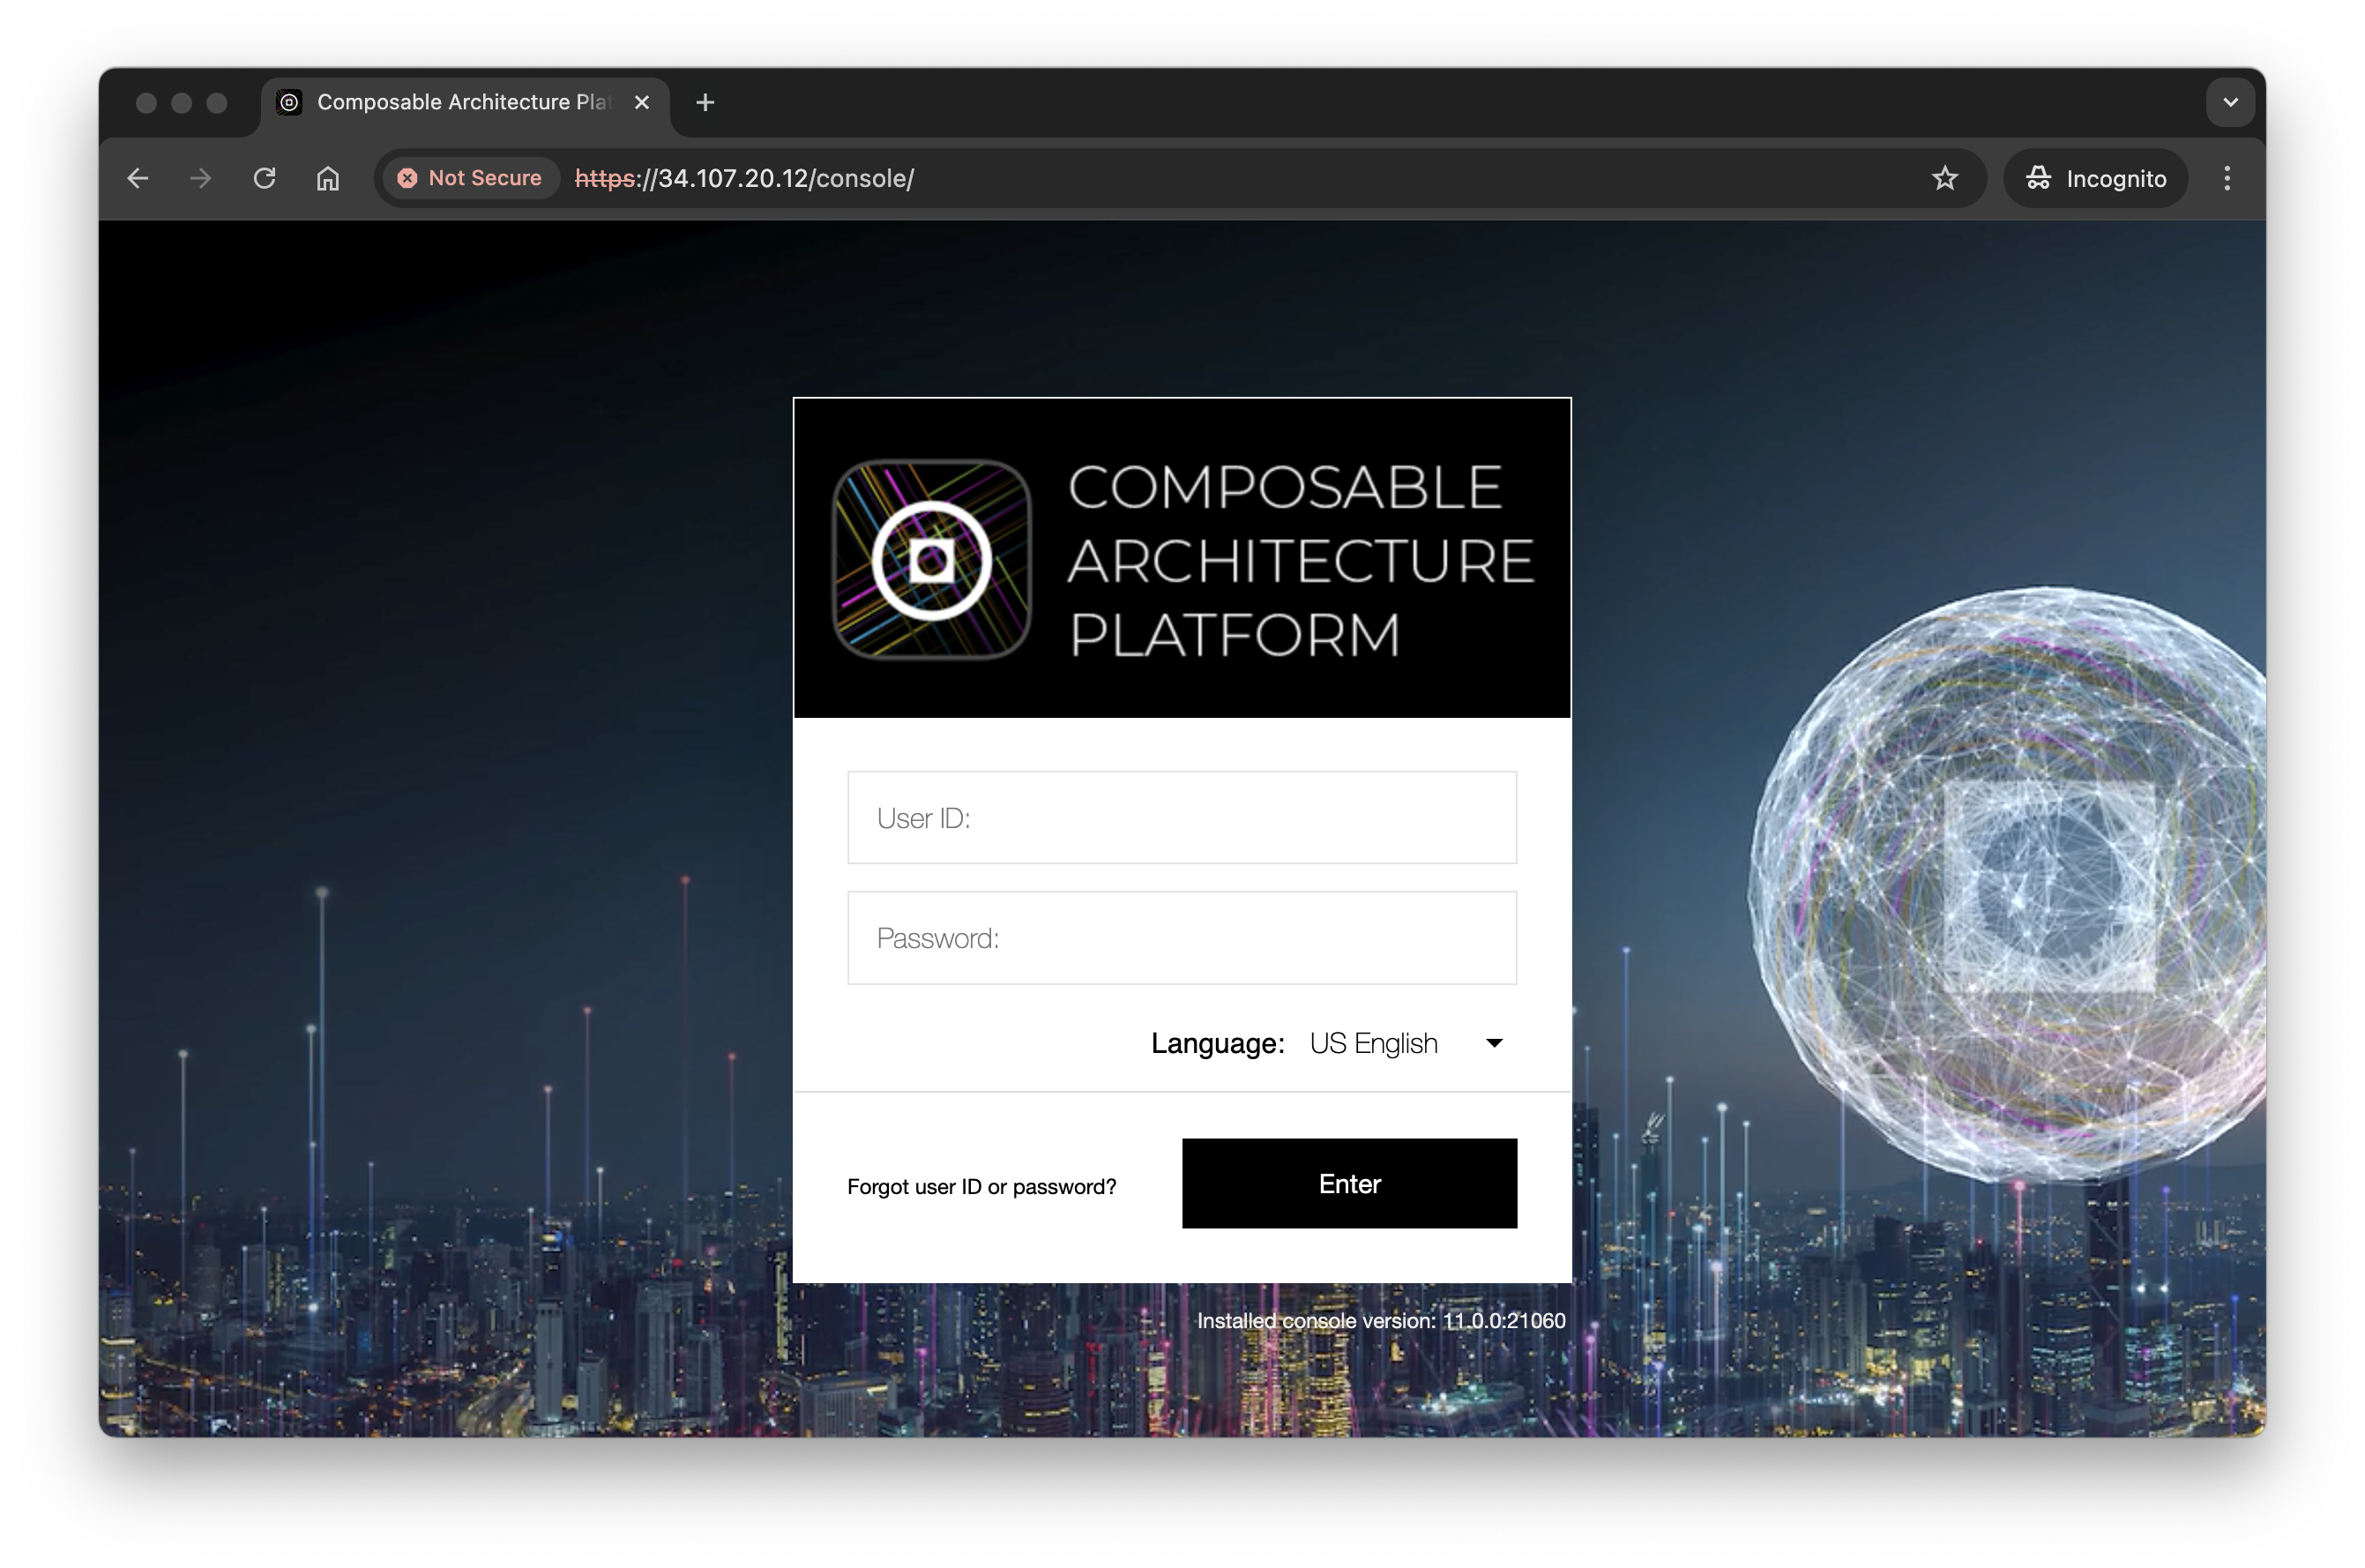
Console Login
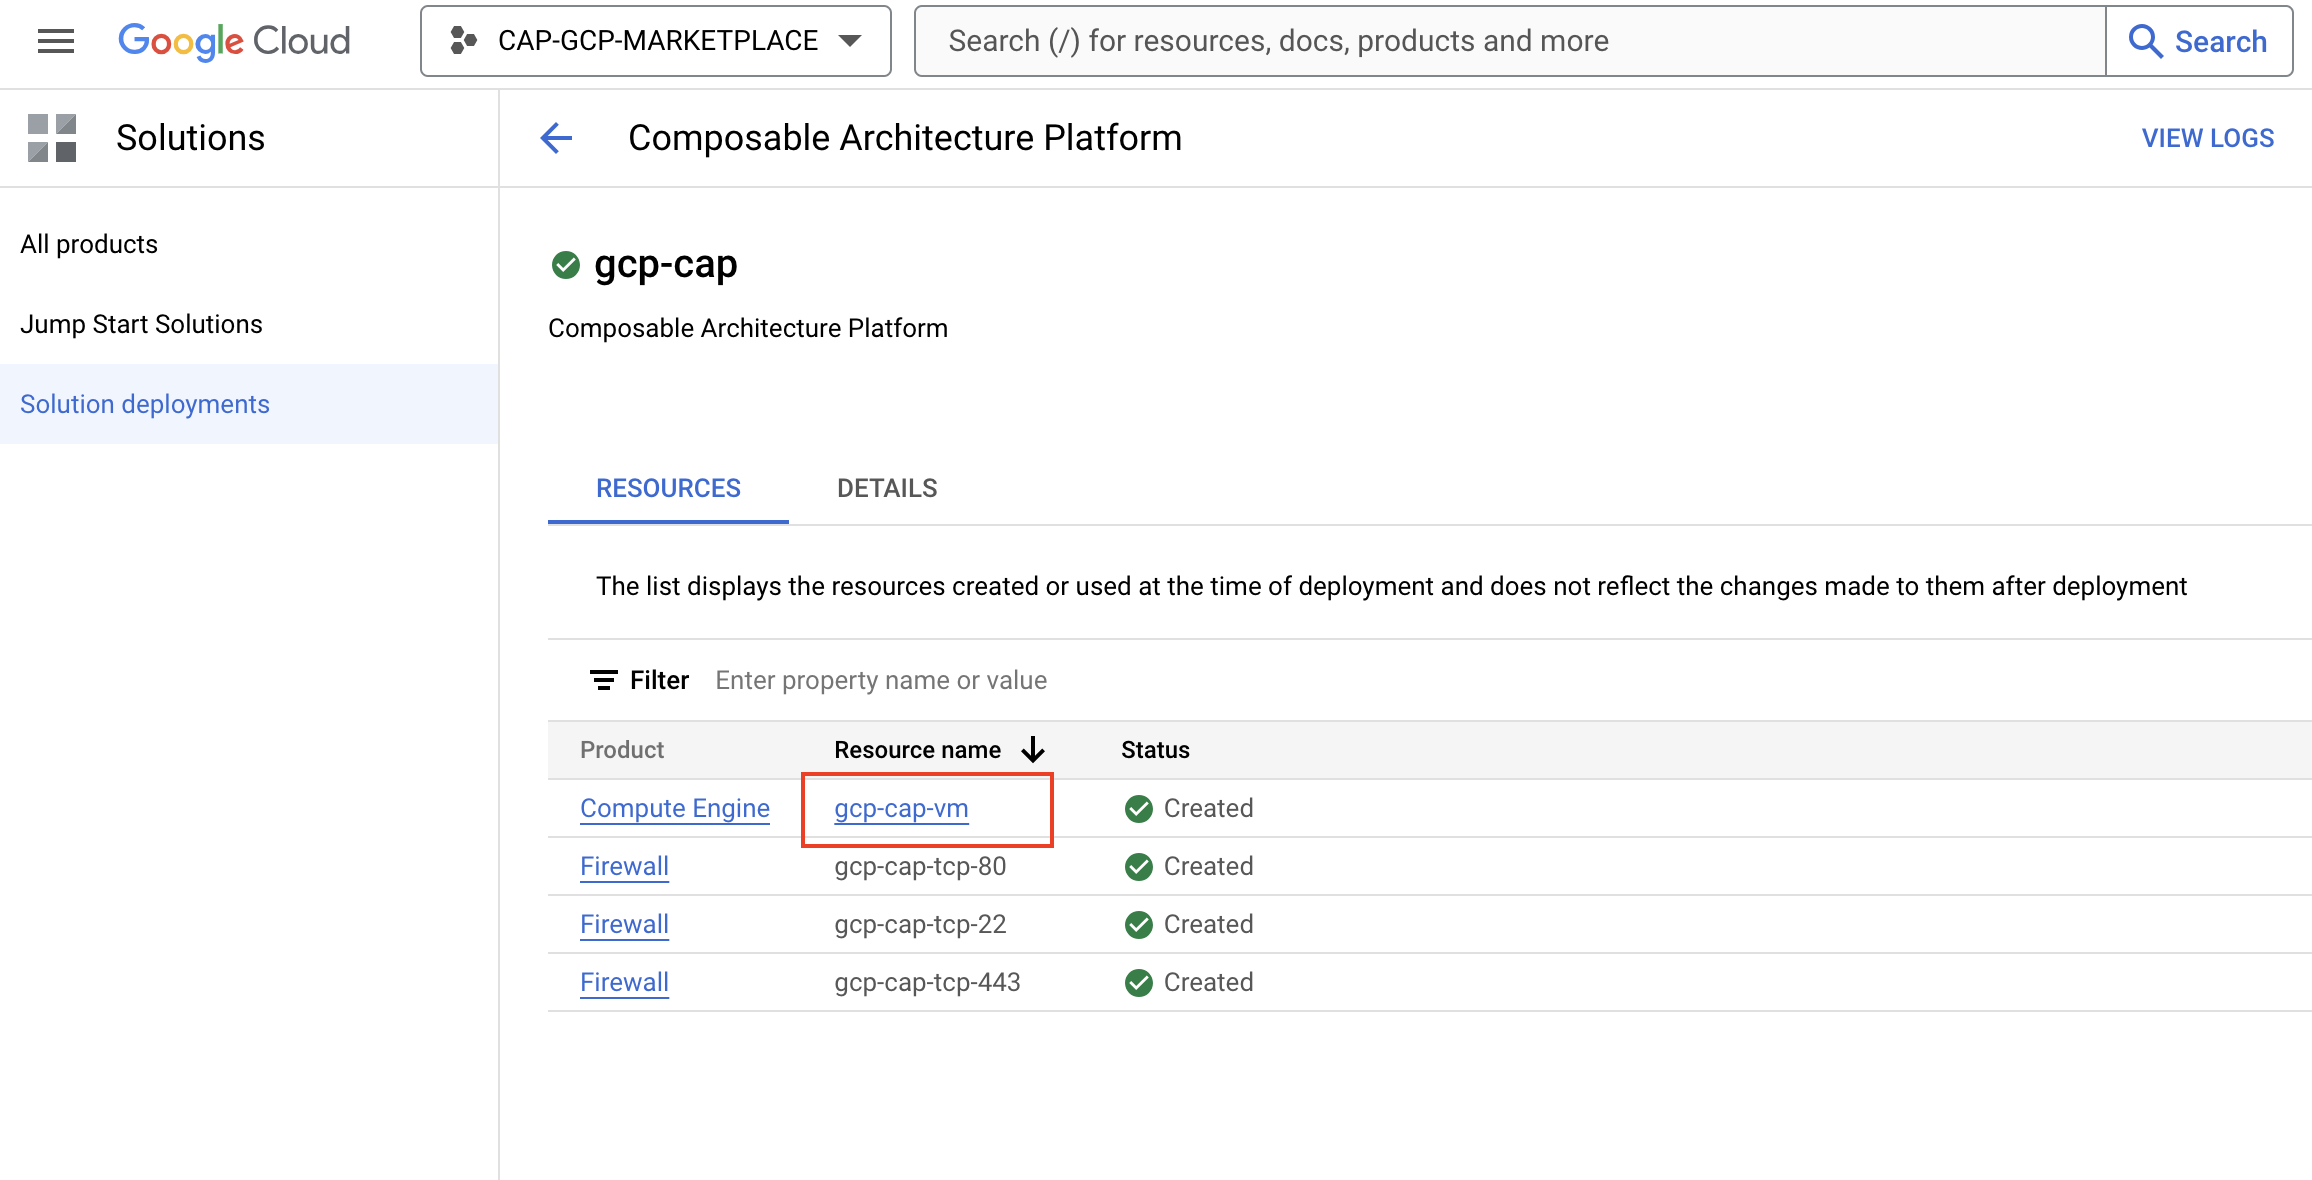
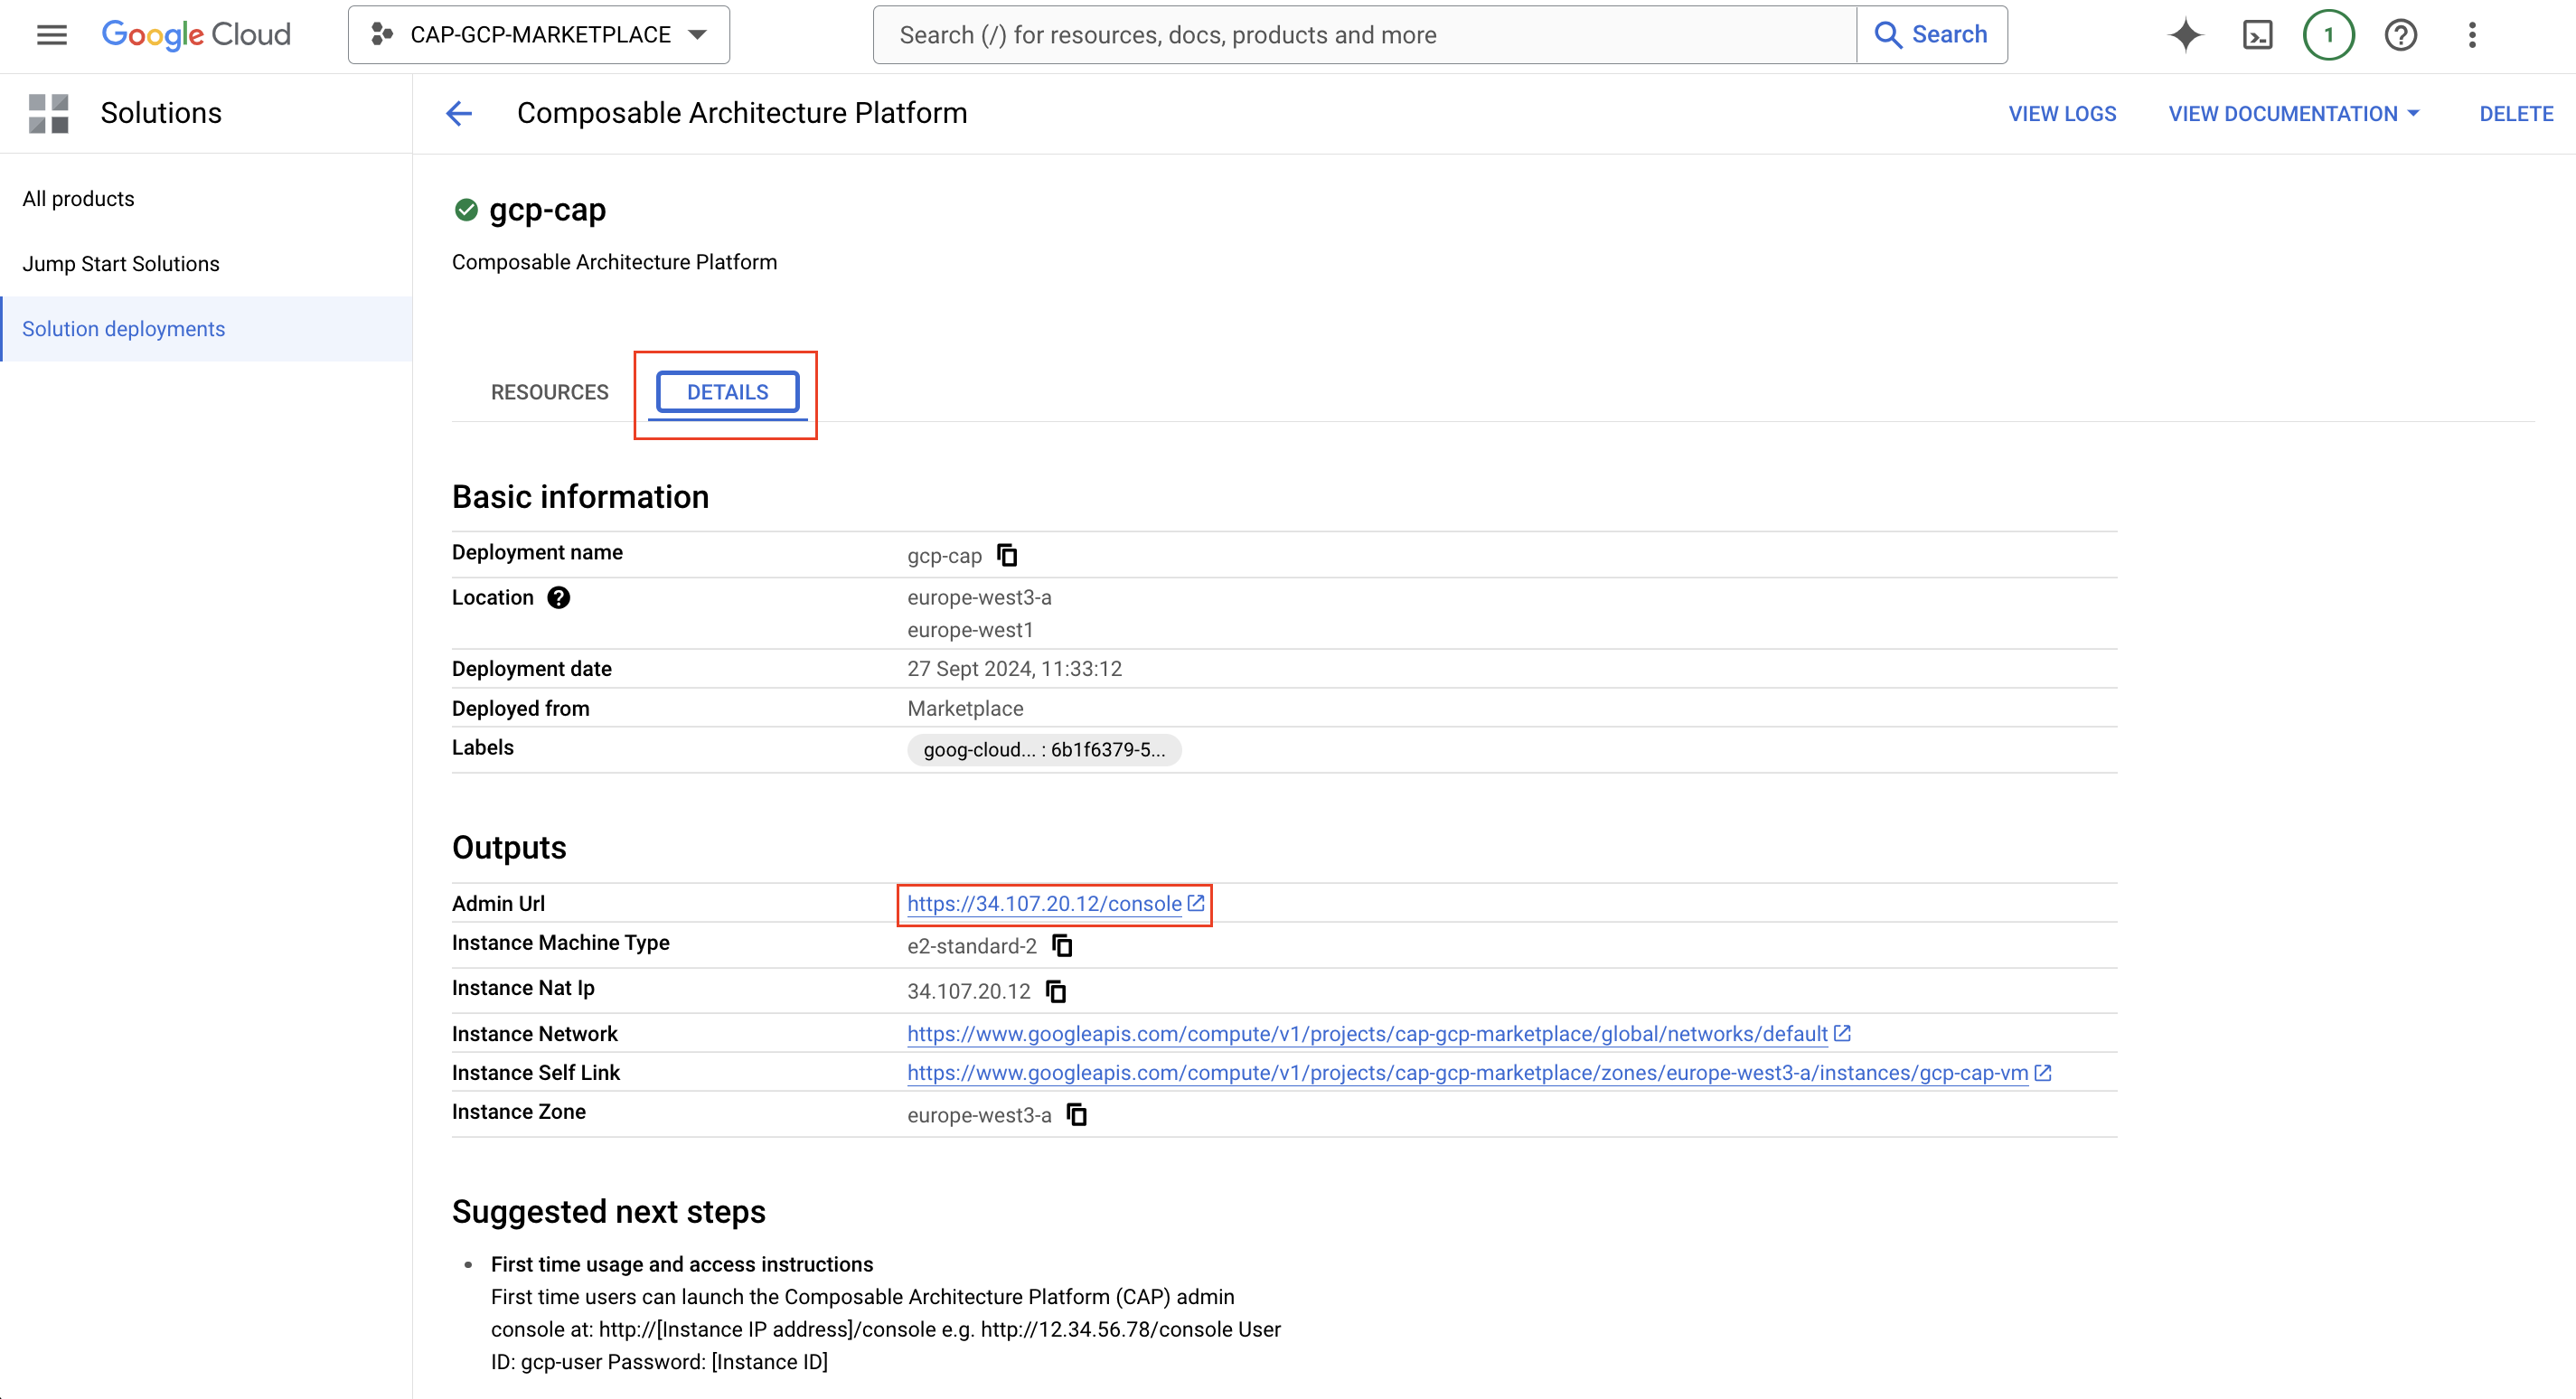
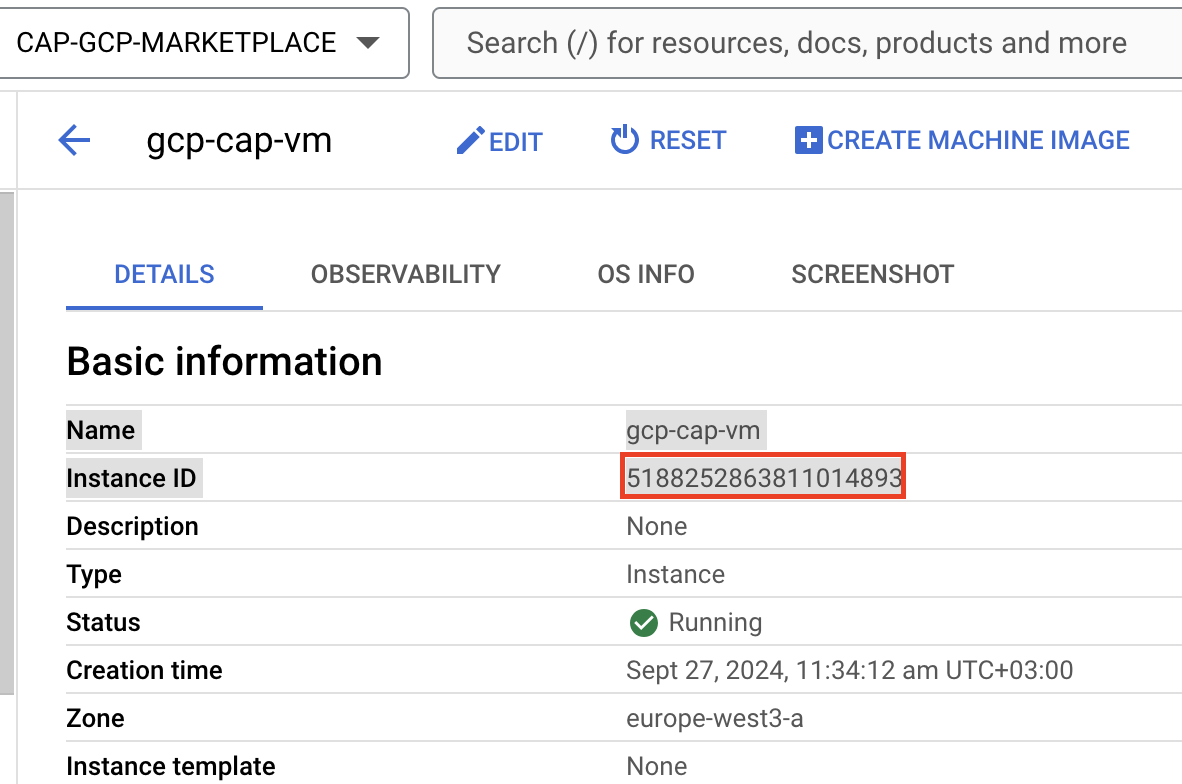
GCP Resources
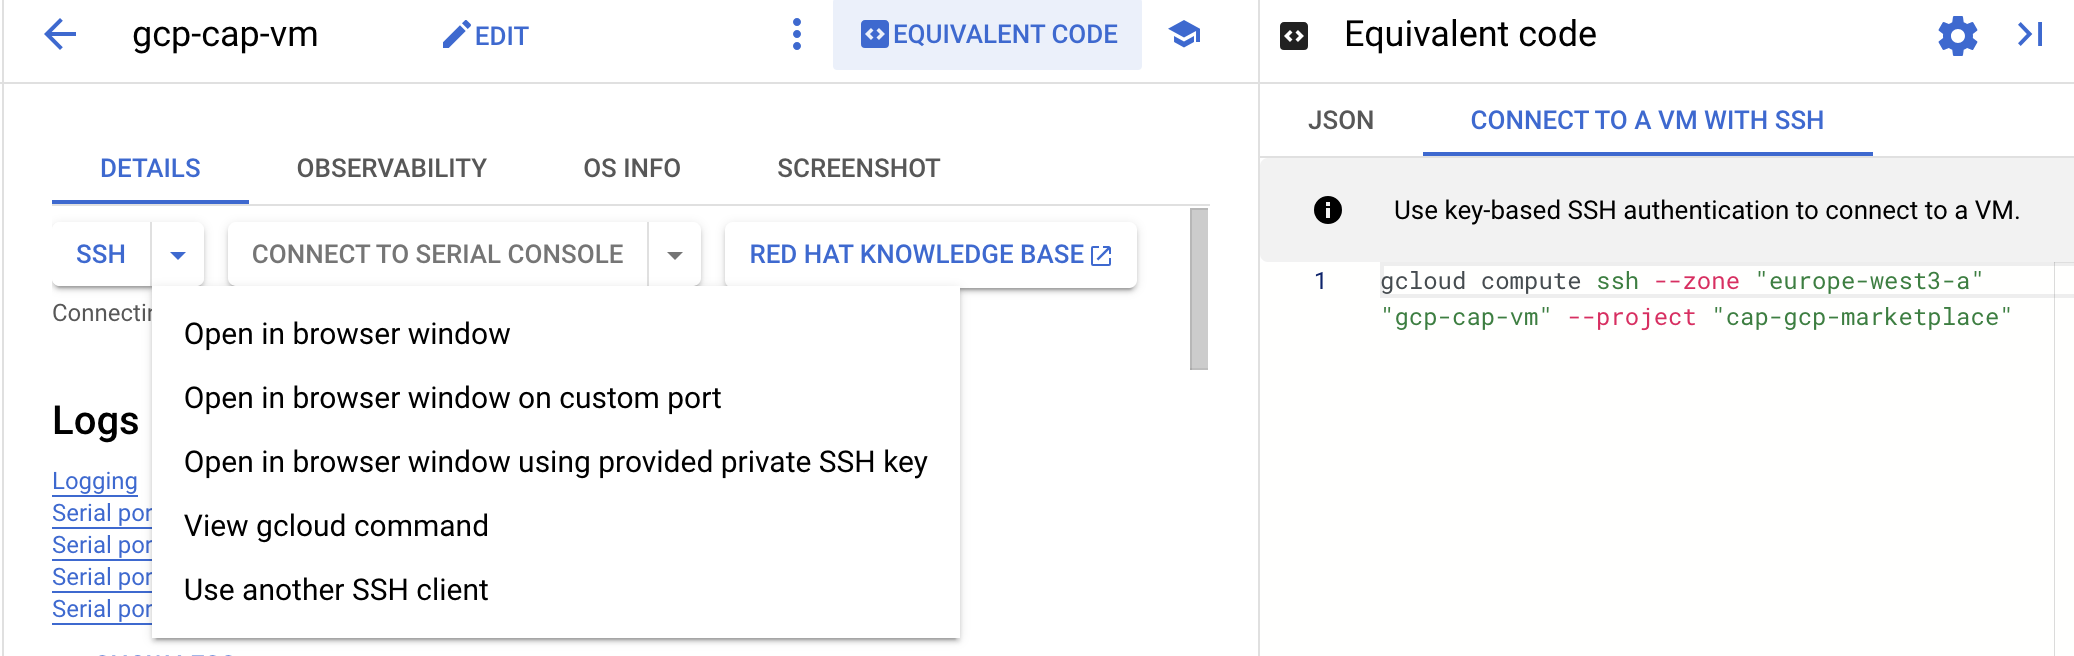
SSH Connect

Ops Agent